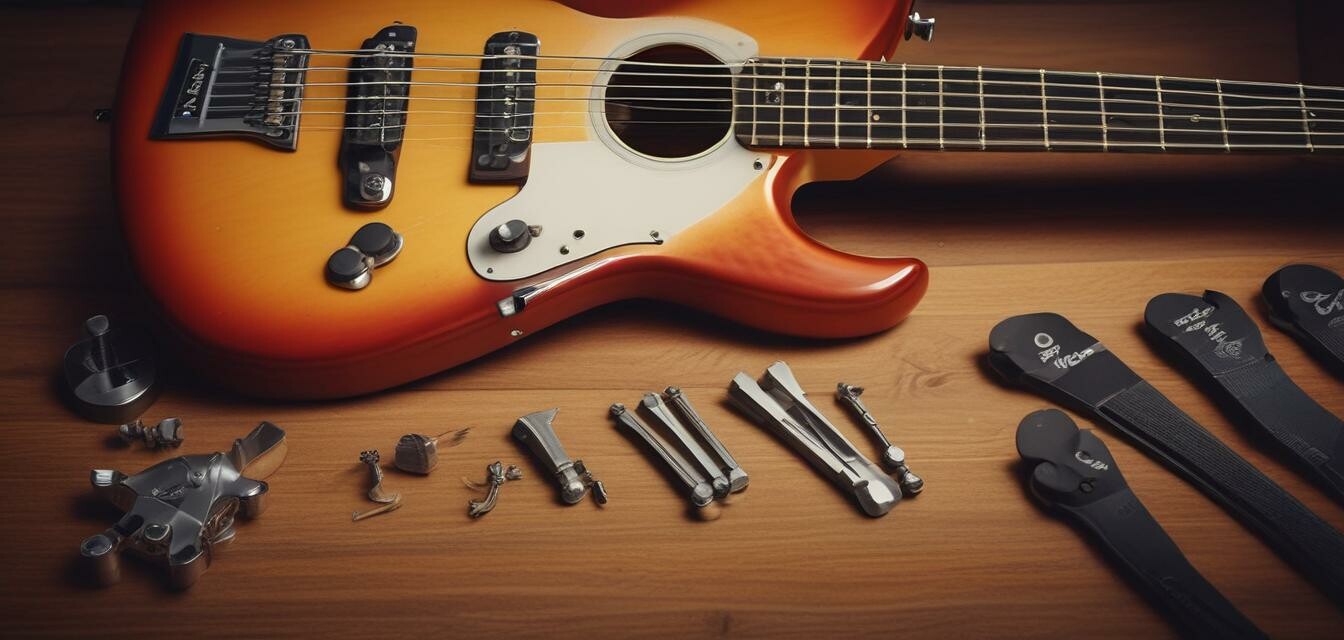
Adjusting Your Fender Guitar Setup Like a Pro
- Understand the critical components of your Fender guitar setup.
- Learn how to adjust string height for improved playability.
- Find the right neck relief to enhance sound quality.
- Regular maintenance keeps your guitar sounding fresh.
- Utilize proper tools for a successful setup adjustment.
Welcome to the ultimate guide on adjusting your Fender guitar setup like a pro. Whether you're a seasoned player or a beginner, ensuring your Fender guitar is set up correctly can greatly enhance your playing experience. This article will delve into the essential aspects of setup adjustments that every guitarist should know.
Why is guitar setup important?
Setting up a guitar is crucial for various reasons. A well-set guitar improves playability, sound quality, and overall performance. It can greatly influence your ability to play comfortably and achieve the sound you desire.
Key Components of a Fender Guitar Setup
| Component | Importance | Adjustment Range |
|---|---|---|
| String Height | Affects playability and action | Depends on player preference |
| Neck Relief | Influences string action and fret buzz | Usually .25mm to .5mm |
| Pickup Height | Impacts tone and volume | Varies based on pickups |
| Intonation | Ensures accurate tuning across the neck | Adjusts at each saddle |
String Height Adjustment
String height, also known as action, is the distance between the strings and the fretboard. Adjusting this can make your guitar easier to play or improve sound quality. Here’s how to get it right:
- Measure the current string height at the 12th fret using a ruler.
- Decide on your preferred action height.
- Using an Allen wrench or screwdriver, adjust the bridge saddles accordingly.
- Test play to ensure comfort and sound quality.
Common string height settings
| Style | String Height (Low E String) | String Height (High E String) |
|---|---|---|
| Fender Standard | 2.0mm | 1.5mm |
| Blues | 2.5mm | 1.8mm |
| Rock | 2.2mm | 1.6mm |
Neck Relief Adjustment
Neck relief refers to the slight bow of the neck. Proper relief helps prevent fret buzz and improves string action. To adjust neck relief:
- Check the neck with a straightedge or ruler.
- Locate the truss rod adjustment nut, typically at the headstock.
- Make slight adjustments: Clockwise for less relief, counterclockwise for more.
- Recheck the relief and play test until satisfied.
Neck Relief Specifications
| Neck Relief Measurement | Recommended Gap |
|---|---|
| 1st Fret | 0.25mm |
| 12th Fret | 0.5mm |
| Action at 12th Fret | 1.6mm - 2.0mm (depending on style) |
Pickup Height Adjustment
Pickup height can greatly affect your tone. Adjusting this to the optimal height can lead to significant improvements in sound. Here’s how:
- Measure the distance from the pickup to the strings.
- Adjust pickups using a screwdriver to achieve desired height.
- Test sound quality and adjust further if necessary.
General Pickup Height Guidelines
| Pickup Type | Recommended Height |
|---|---|
| Single Coil | 2.0mm |
| Humbucker | 1.5mm |
Intonation Adjustment
Intonation ensures that your guitar stays in tune up and down the neck. Here are the steps to get it right:
- Use a tuner to check the tuning of the open string.
- Play the 12th fret note while checking with the tuner.
- If the note is sharp, move the saddle back. If flat, move it forward.
- Repeat for each string until satisfied.
Pros
- Increased playability and comfort.
- Improved sound quality.
- Customized setup based on personal playing style.
Cons
- Time-consuming adjustments if not familiar with the process.
- Potential for mistakes if adjustments are not done carefully.
Maintaining Your Fender Guitar
Regular maintenance is key to ensuring your guitar remains in top shape. Here are some essential tips:
- Keep the guitar clean, wiping it down after each use.
- Check and adjust the setup regularly, especially with seasonal changes.
- Store your guitar properly to avoid warping or damage.
Tips for Beginners
- Start with basic adjustments and gradually learn more complex setups.
- Use high-quality tools to avoid damage and ensure precision.
- Watch video tutorials for visual guidance.
- Don’t hesitate to consult a professional if unsure.
By following the tips outlined in this article, you'll be well on your way to mastering your Fender guitar setup like a pro. Don't forget to visit our Expert Tips section for more valuable advice to enhance your guitar experience!
Ready to take the next step? Check out our Guitar Accessories collection for tools that can help with your setup!
Conclusion
Adjusting your Fender guitar's setup is a valuable skill that can enhance your playing experience. Remember to regularly check and adjust your guitar to keep it in top shape. Happy playing!